
In the realm of electrical troubleshooting, few issues are as perplexing and potentially hazardous as short circuits. Understanding how to effectively check for a short circuit using a multimeter is an essential skill for electricians, engineers, and DIY enthusiasts alike. This article delves into the intricacies of short circuits, the functionality of multimeters, and a step-by-step guide to accurately diagnose short circuits in various electrical systems.
Understanding Short Circuits
A short circuit occurs when an unintended path forms in an electrical circuit, allowing current to flow along an unintended route. This can lead to excessive current flow, resulting in overheating, equipment damage, or even fire hazards. Common causes of short circuits include frayed wires, faulty insulation, and component failures. Recognizing the signs of a short circuit—such as tripped circuit breakers, blown fuses, or unusual heat generation—is the first step toward effective troubleshooting.
The Role of a Multimeter
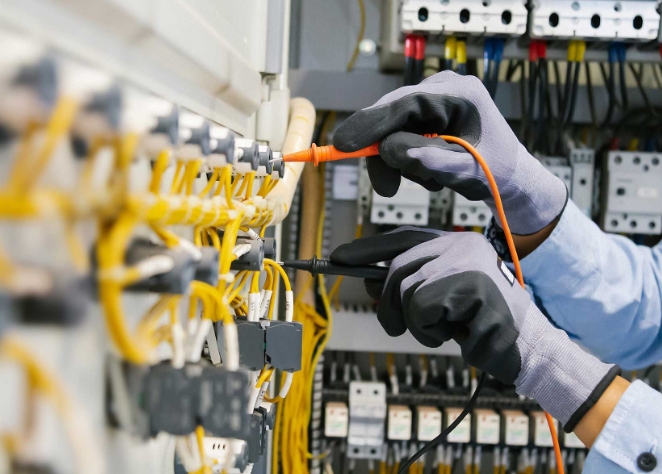
A multimeter is an indispensable tool for diagnosing electrical issues, including short circuits. It combines several measurement functions into one device, allowing users to measure voltage, current, and resistance. For short circuit detection, the multimeter's continuity and resistance settings are particularly useful. Understanding how to properly use a multimeter is crucial for accurate diagnostics.
Step-by-Step Guide to Checking for a Short Circuit
- Safety First: Prepare for Testing
Before diving into testing, ensure your safety by following these precautions:
- Power Down: Disconnect the power supply to the circuit you will be testing. This prevents electrical shock and protects your multimeter.
- Wear Protective Gear: Use insulated gloves and safety goggles to safeguard against accidental contact with live wires.
- Set Up Your Multimeter
- Select the Correct Mode: Turn your multimeter dial to the continuity setting (often represented by a sound wave symbol) or the resistance setting (ohms, Ω).
- Test the Multimeter: Before using it on the circuit, test the multimeter on a known good circuit to ensure it is functioning correctly.
- Identify the Circuit Components
Locate the components of the circuit you wish to test. This may include wires, connectors, switches, and devices. Understanding the layout will help you identify potential short circuit points.
- Check for Continuity
- Probe the Circuit: Place one probe of the multimeter on one end of the wire or component and the other probe on the opposite end.
- Listen for the Beep: If the multimeter beeps or shows a low resistance reading (close to zero), this indicates continuity, suggesting a potential short circuit. A reading of infinite resistance indicates no short circuit.
- Measure Resistance
- Isolate Components: If you suspect a specific component is faulty, isolate it from the circuit.
- Measure Resistance: Place the probes across the component. A very low resistance reading (typically below 1 ohm) indicates a short circuit within that component.
- Inspect Wiring and Connections
If continuity tests indicate a short circuit, visually inspect the wiring and connections for signs of damage, such as:
- Frayed Insulation: Look for exposed wires that may be touching each other or conductive surfaces.
- Burn Marks: Check for discoloration or burn marks on connectors and terminals, indicating overheating.
- Test Circuit Breakers and Fuses
Circuit breakers and fuses are designed to protect against short circuits. Use your multimeter to test these components:
- Circuit Breakers: With the power off, check for continuity across the breaker terminals. A lack of continuity may indicate a tripped or faulty breaker.
- Fuses: Remove the fuse and test it with the multimeter. A blown fuse will show infinite resistance.
Conclusion
Detecting short circuits with a multimeter is a vital skill that can save time, money, and prevent potential hazards. By following the outlined steps and employing a systematic approach, you can effectively diagnose and address short circuits in various electrical systems. Remember, safety is paramount; always ensure the power is off before conducting any tests. With practice and attention to detail, you will become proficient in using a multimeter to troubleshoot electrical issues, ensuring the reliability and safety of your electrical systems.